Robotics 2022
Autolocation system
Here you will find my solution to the "Autolocalisation system" exercise. The goal of this one is to realize a self-locating system based on beacons (AprilTags type)

Project details
We are going to solve this exercise using Python3.
This project is divided into two main parts.
The first one is the calibration step, for this we will use the opencv library and an object whose values are known (chessboard paper).
The second part is the localization of the tag to be able to determine the position of the camera, for that we will help us with the AprilTags library
Files needed


My solution
1. Choose the camara
First, before launching my program, we have to choose which camera we will use. There are two possible choices:
- An ip camera (camera of our phone)
- A webcam
Once the camera is chosen you just have to launch the program.
For a use with an ip camera :
$ python autolocationSystem.py -p -u=<IP>
For a use with a webcam :
$ python autolocationSystem.py -w
If you start the program you should have the camera view and a three-dimensional graphic. You can exit the program by pressing space, q or escape.

Camera view and 3d representation
2. Calibration
Once the program is launched, you just have to place your chessboard sheet (9x6) on a table or on the floor and take 6 pictures of it with different camera positions. (Do not take blurred or cropped pictures).
You can take the pictures by pressing the C key of your keyboard.
Once the 6 pictures have been taken, they will be shown on the screen with the detection of the corners of each square of the chessboard. All you have to do is to check that none of the pictures are blurred or cropped. If the detection of the corners was well done, you just have to calibrate your camera automatically by pressing the space key of your keyboard.

drawChessboardCorners() results
Technical part:
The whole calibration part happens in the calibrate.py file.
The calibration of the camera is divided into X steps.
The first one is to detect the corners of each square of the chessboard, this is done with the opencv2 function : cv2.findChessboardCorners().
We can draw the corners results of the function cv2.findChessboardCorners() with the cv2.drawChessboardCorners() function.
Once we have all the corners for the six images, we will use cv2.calibrateCamera() to get the same parameters as :
- Root Mean Square error (RMS)
- Intrinsics matrix (K)
- Distortion coefficients
- Rotation vector (rvecs)
- Translation vector (tvecs)
Once you have found all these parameters it is very easy to calibrate your camera.
3. AprilTags
The whole calibration part happens in the aprilTags.py file.
For the geolocation system by tag, I decided to use the AprilTags library. Once the tags are printed, we just have to use the library to detect the tags.
Here is the simple code to detect the tags (results are stocked in result variable) :

How to detect AprilTags

Detection of an AprilTag
4. Estimating the position of the camera
Once the tag is found, the library gives us the position of its centre in the image. The centre of the tag represents the coordinates (0, 0) in the real world. Thanks to the parameters found during the calibration of the camera we can deduce the position of the camera using this formula :


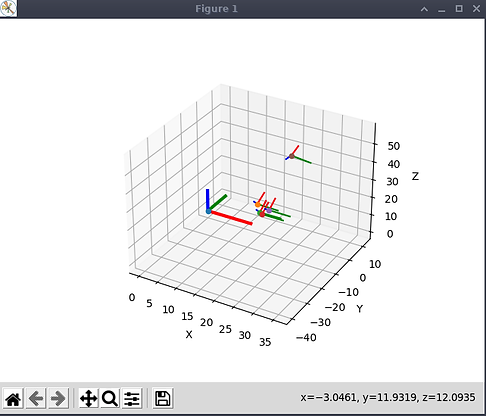
Once we get the position of the camera in the real world, we just have to plot them on a 3d graphic. For the 3d graphic I chosed to use the MatPlotLib library.
3d camera positions representation
5. Result
Here is the result of my algorithm. I don't have a gpu so when I run the program, my computer has a little trouble running it.